This article will help you to get an email alert when your SQL
instance down. For this implementation you need to additional instance for
monitoring purpose. Please have a look on the below diagram.

For this implementation, I am going to create one stored
procedure and one SQL Server job. The job will handle the all the action items
like connection to target instance, wait sometime re-connecting, occurring each
I minute time etc. Store procedure will send E-mail notification for given
email address or alias.
This stored procedure not mandatory and it is for additional
step to get notification by calling Stored Procedure. I will explain each step
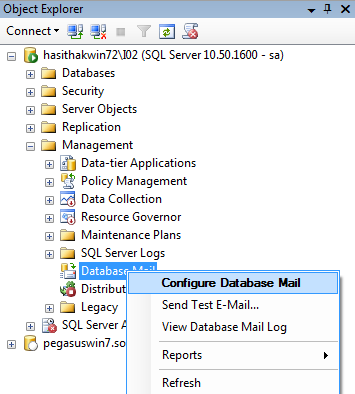
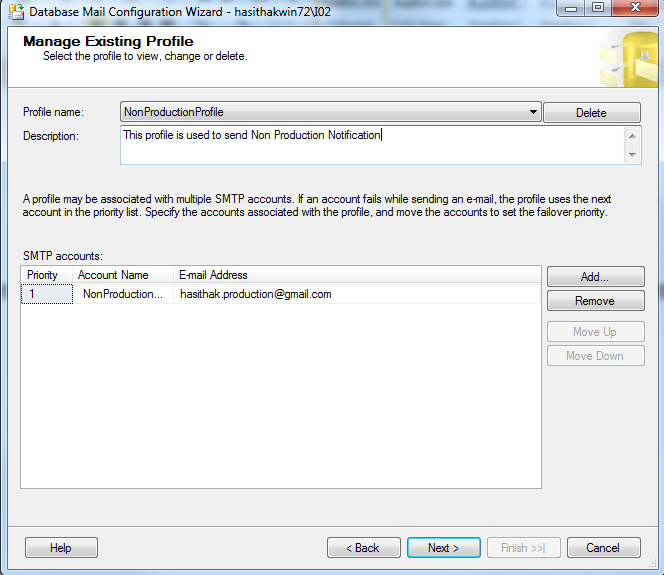
First,
you need to configure E-mail in your monitor instance. To configure your E-mail
feature on SQL server please have look on this: http://dbamigos.blogspot.com/2013/04/database-mail-in-sql-server-2008.html
Second, you need to configure Linked Server for Target
Instance.
1.
Open SQL Server Management Studio , Expand
Server Object node in object Explorer , Right click on Linked Servers and Click
New Linked Server

2.
From below window, you need to select Type of
server as “SQL Server” and give the Server name with instance name.

3.
After that click security tab and select below
mention option and give SA login & credentials to connect to Target Instance.
Then click OK button

Third, I’m going to create SQL job
<!--[if !supportLists]--> 1.
In Object Explore, Expand SQL Server Agent Right click on job
and click new job
<!--[if !supportLists]--> 2.
<!--[endif]-->Give a name for your job. I gave name as
“InstanceMonitoring_I01”

4.
Give the step name as “Connect1” and give query
to execute on remote server. This simple query will execute on Target SQL
Server instance by using Linked Server that we configured previously. Purpose
of executing this simple query to get the Target Server instance is up and
running.
SELECT TOP 1 object_id
FROM [PEGASUSWIN7.SOL.NET\I01].master.sys.all_columns

5.
Go to the Advanced tab and select the “On
success action” and “On failure action” accordingly

On Success action:
Query execution successful. Target instance is up and running
On failure action: Query Execution Fail. Go to the next
step. This step will execute the delay query
6.
Create step 2, give Step name as “Delay1” and
give query as “WAITFOR DELAY '00:00:05'
“. This query will delay the execution for five second. This value you can change
by using this format “HH:MM:SS”

7.
Go to the Advanced tab and give “On success
action” and ‘On failure action” accordingly

On success Action: successfully delay the execution. Go to
the next step, will re-execute the query on Target SQL instance
On failure Action: failed to execute delay query quit the
job and report as a failure
8. Create another step – Connect2
Same as the step 4


9.
Create another delay step – Delay2


Whole purpose of these delay queries mean to wait
some amount of time ( 5 seconds) to re-execute the query. Because there may
have some network issues between Target Server and Monitor Server. (or any
other)
10.
Create another step-5, Connect3


There is no any other steps to execute after this step hence
I select “Quit the job reporting failure” as On failure action
Now we completed the steps creation part. Next we need to
schedule this job
11.
Select the Schedule tab and click New button

Give the details accordingly
I scheduled this job to run every day each 1 minute time

12.
Now you need to select the notification method
when job completes. For that you need to click Notification tab and select the
E-mail and select the Operator that you create previously

Now your job is successfully created. Then
try to test yourself by stopping Target Instance and you will get an E-mail
notification.
Additionally you can set another step to send
E-mail after failing Connect3 step. You need to crate store procedure on master
database (You can use any database) to send E-mail
1.
Create SP “InstanceMonitorI01_SendMail” in
Master database
USE master
GO
CREATE PROCEDURE
[dbo].[InstanceI01_SendMail]
AS
BEGIN
SET NOCOUNT ON
Exec msdb.dbo.sp_send_dbmail
@profile_name='DBMailProfile',
@recipients='hasithak@ecollege.com',
@copy_recipients='hasitha.kanchana@pearson.com',
@body='HASITHAKWIN7.MYCOMPANY.ORG\I01 Instance has failed',
@subject='HASITHAKWIN7.MYCOMPANY.ORG\I01 Instance failed';
END
2. Create additional step called “SendMail” after
Connect3 and give a command as
EXEC dbo.InstanceMonitorI01_SendMail

For Advanced tab,

3.
Now you need to modify step5 ( Connect3) because
we added separate step to send mail

On failure action: We move to next
step to send E-mail by executing step 6 ( SendMail)
Overall picture of the Job steps